Setting up Apollo SSO with Okta
Single sign-on (SSO) is available only for Dedicated and Enterprise plans. This feature is not available as part of an Enterprise trial.
This guide walks through configuring Okta as your Apollo organization's identity provider (IdP) for single sign-on (SSO). You can use Okta's official GraphOS integration (recommended) or create a custom SAML integration (legacy). Both methods require an Okta account with administrator privileges.
Once you've set up your integration, you need to assign users to it in Okta so they can access GraphOS Studio via the Sign in with SSO button on the GraphOS Studio login page.
Using Okta's official Apollo GraphOS integration
Supported features
The Okta Apollo GraphOS SAML integration currently supports the following features:
- Just-In-Time (JIT) Provisioning
- Service provider-initiated (SP-initiated) SSO
An SP-initiated flow occurs when an end user signs in to an application directly from that application's sign-in page. For example, https://studio.apollographql.com/login is the sign-in location for GraphOS Studio. The integration supports users signing in from this page using SSO.
You can use Okta's Bookmark App integration to simulate an Identity Provider-initiated (IdP-initiated) flow to allow users to sign in from Okta.
Configuration
From your Okta Administrator Dashboard, open the Applications view from the left menu. Click Browse App Catalog.

Search for "Apollo GraphOS." When “Apollo GraphOS Enterprise” appears, click + Add integration.
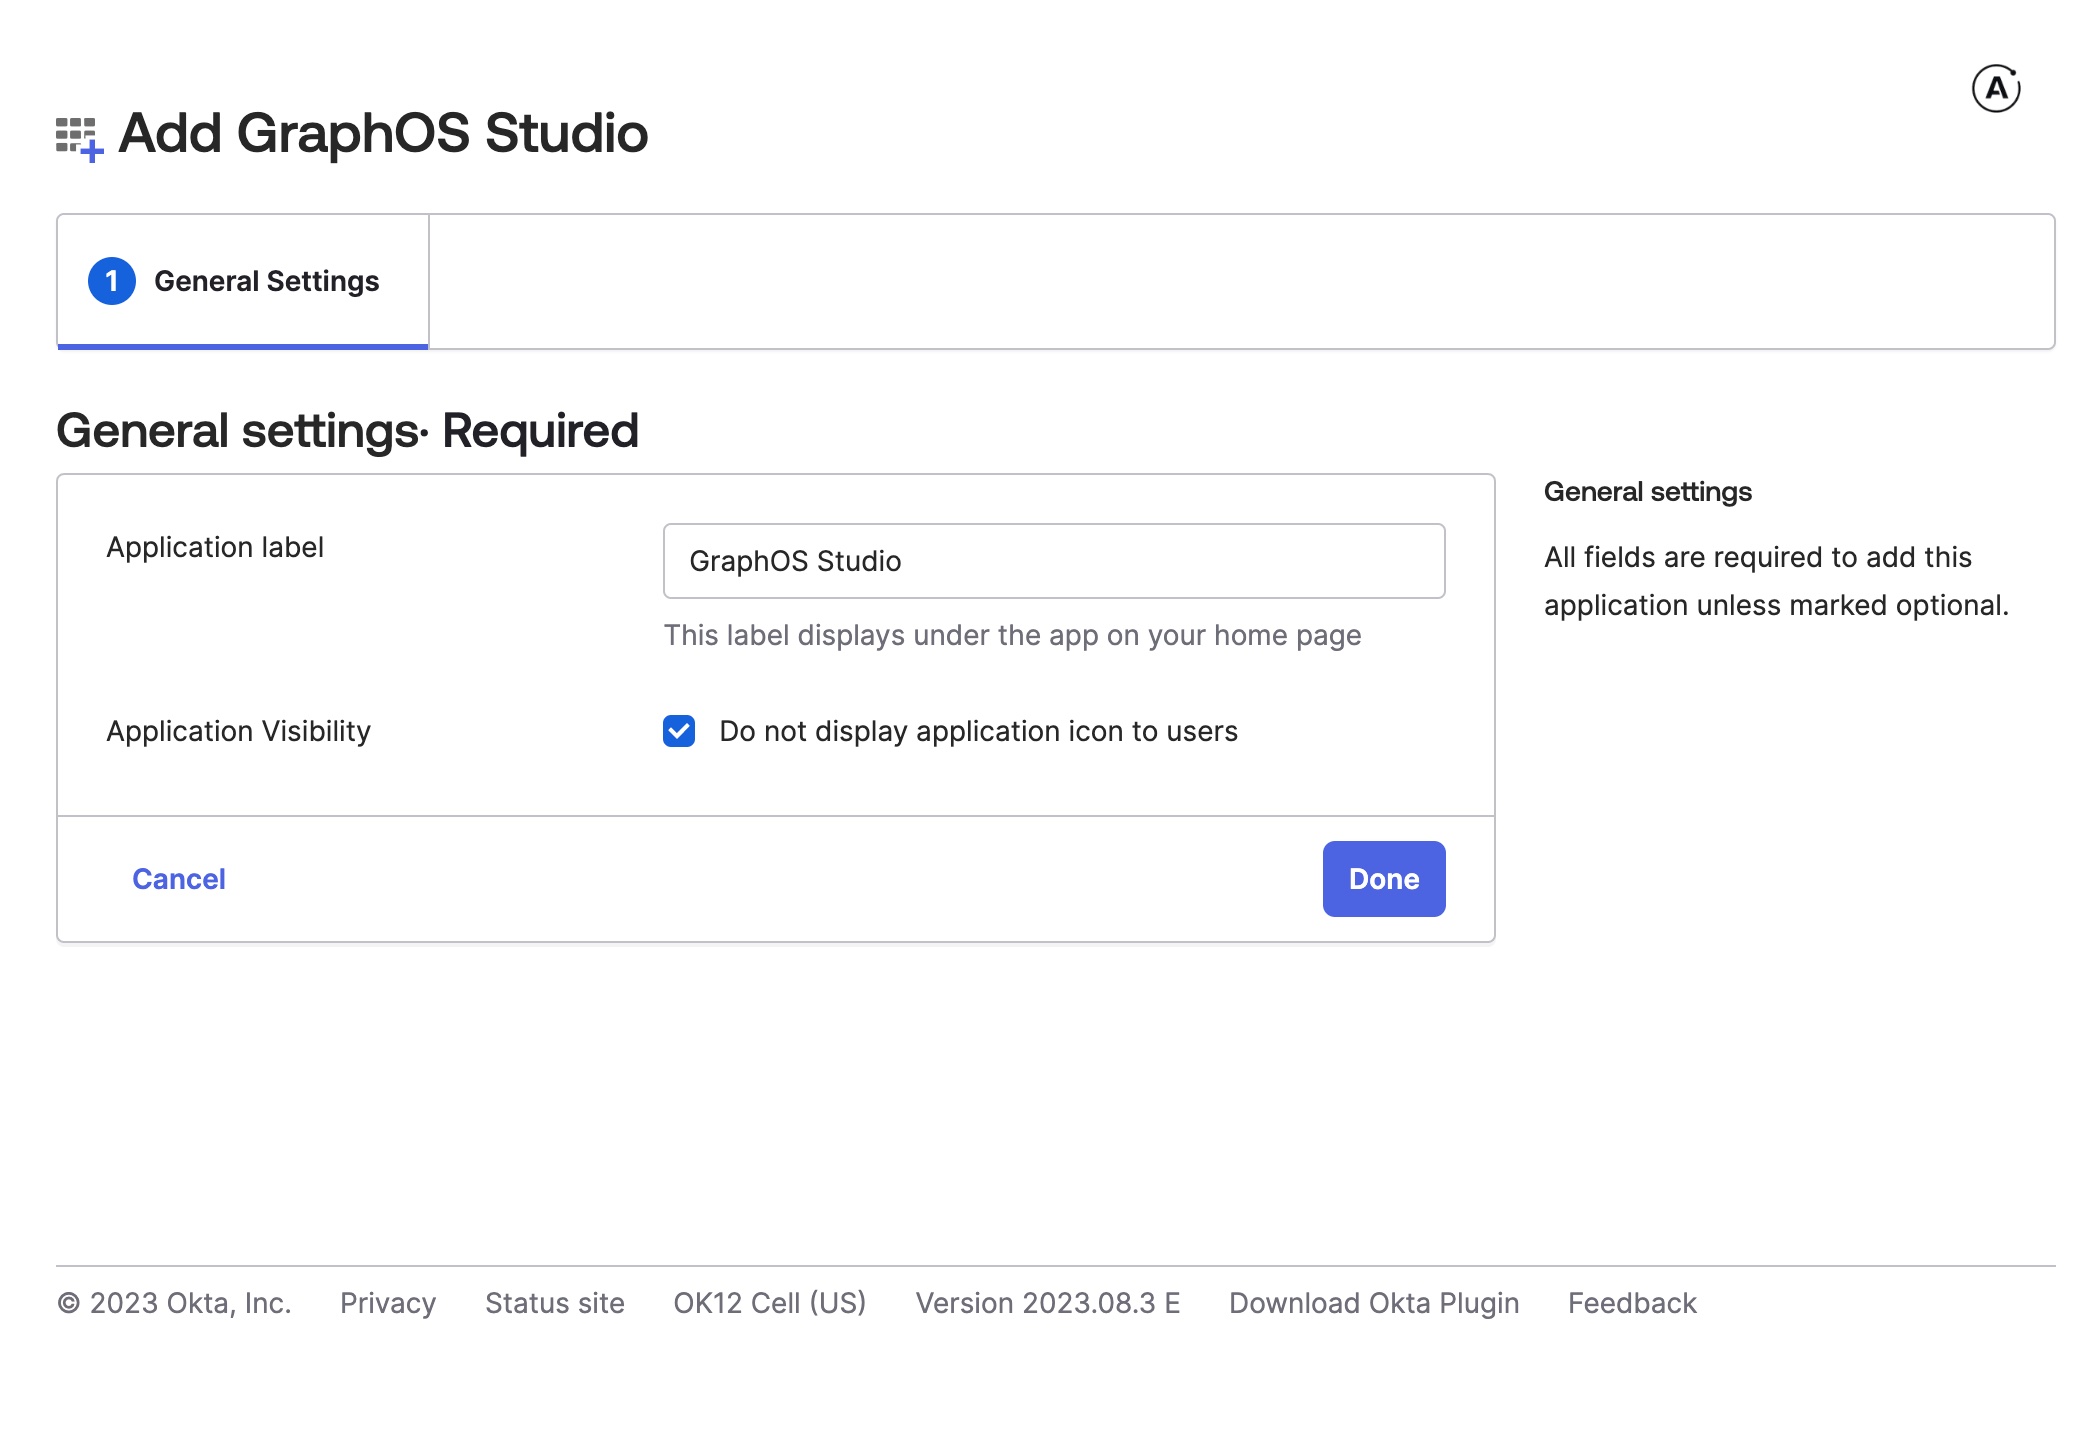
In the General Settings tab that opens, select Do not display application icon to users. (You'll set up a Bookmark App instead.) You can optionally change the Application label or keep the default "Apollo GraphOS Enterprise" label. Click Done.
The Assignments tab opens—you'll return to it later to assign users to the integration. For now, open the Sign On tab and copy the Metadata URL under Metadata details.
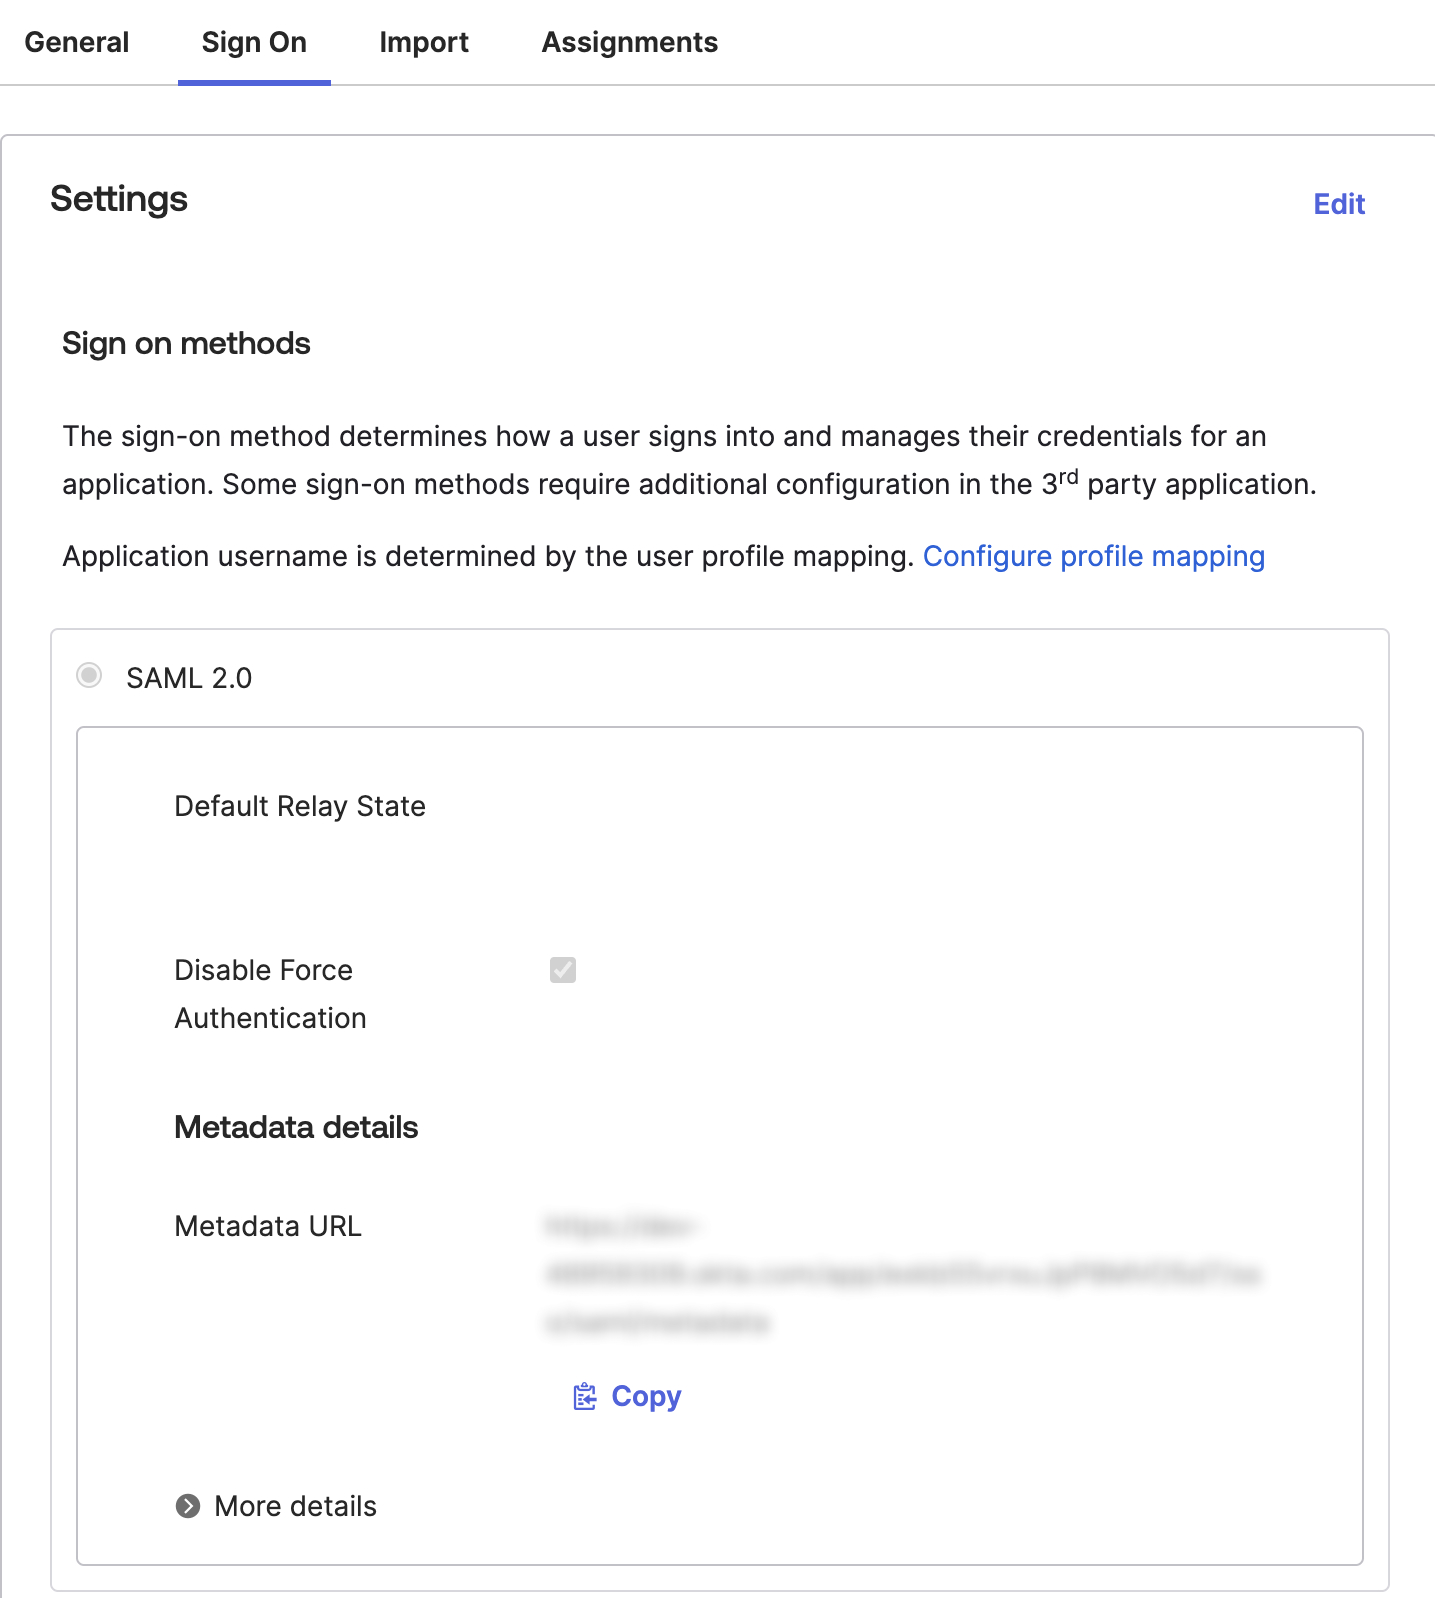
- Send the following information to your Apollo contact:
- Metadata URL you copied in the last step
- Email address you use to log in to GraphOS Studio
- The member associated with this email address will need an org admin role. You can begin SSO setup without it, but Apollo will update the role, if necessary, to complete setup.
Your Apollo contact will let you know once SSO setup is complete.
Using a custom integration
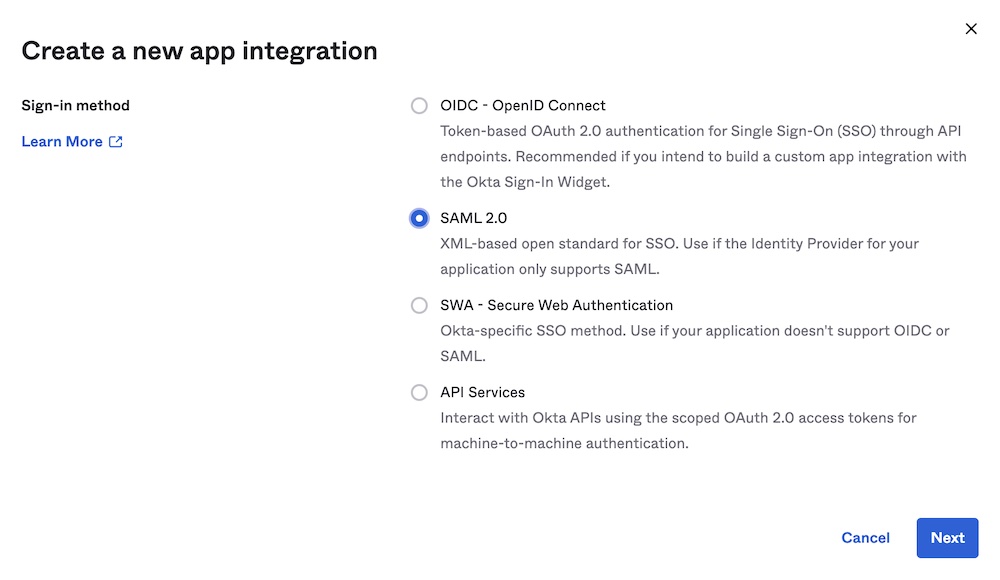
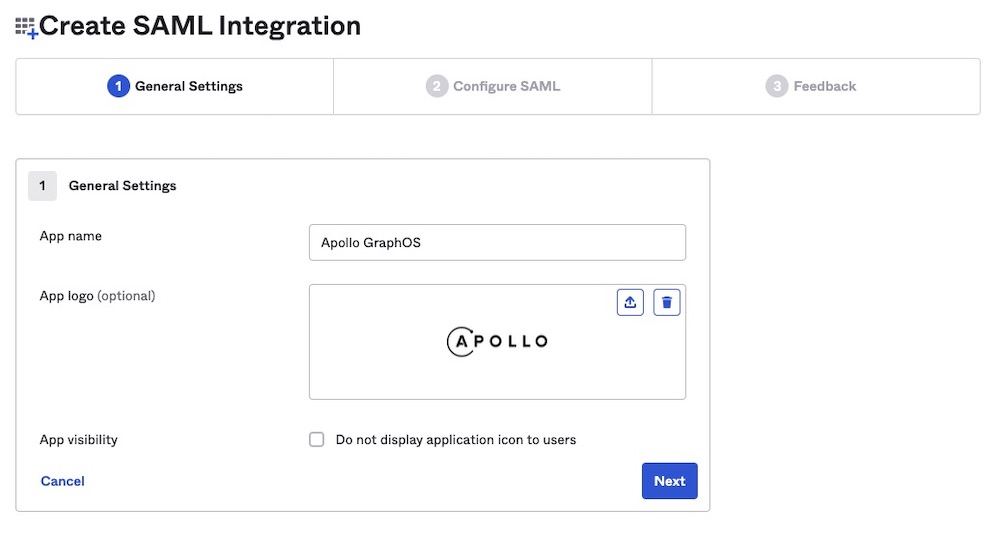
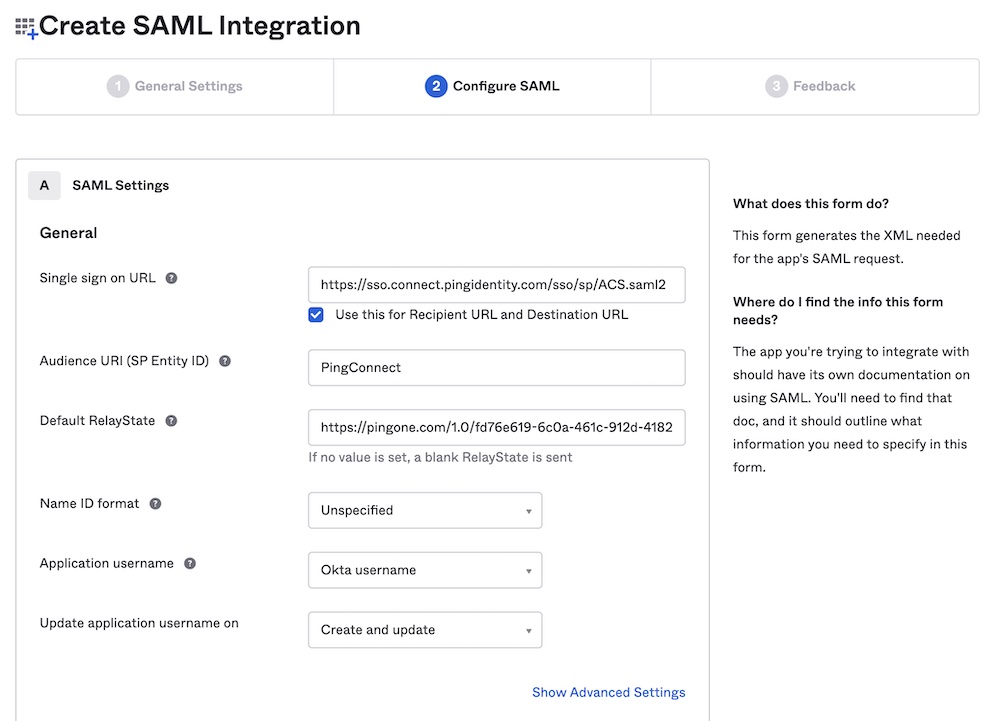
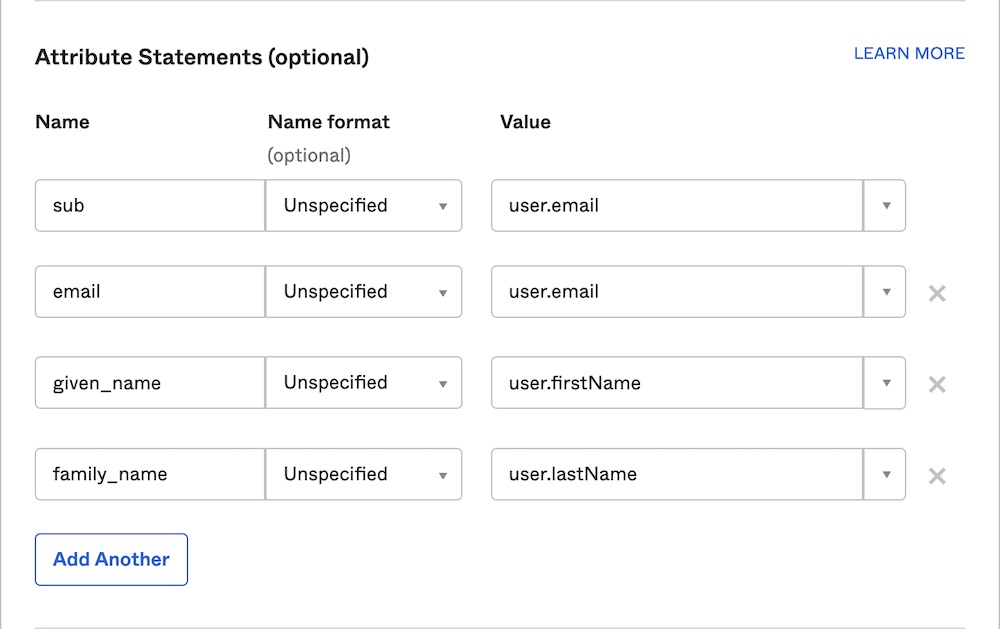
Before the official Okta integration, you needed to create a custom integration to configure SSO. Now that an integration exists, we don't recommend creating a custom one. You can refer to the instructions below if you need them for a previously created custom integration.
Assign users in Okta
Whether you're using the official Okta integration or creating your own, you need to assign users to it so they can access GraphOS. You can assign individual users or groups by following these steps:
From your Okta Administrator Dashboard, open the Applications view from the left menu and open the Apollo GraphOS integration. Then, click the Assignments tab.
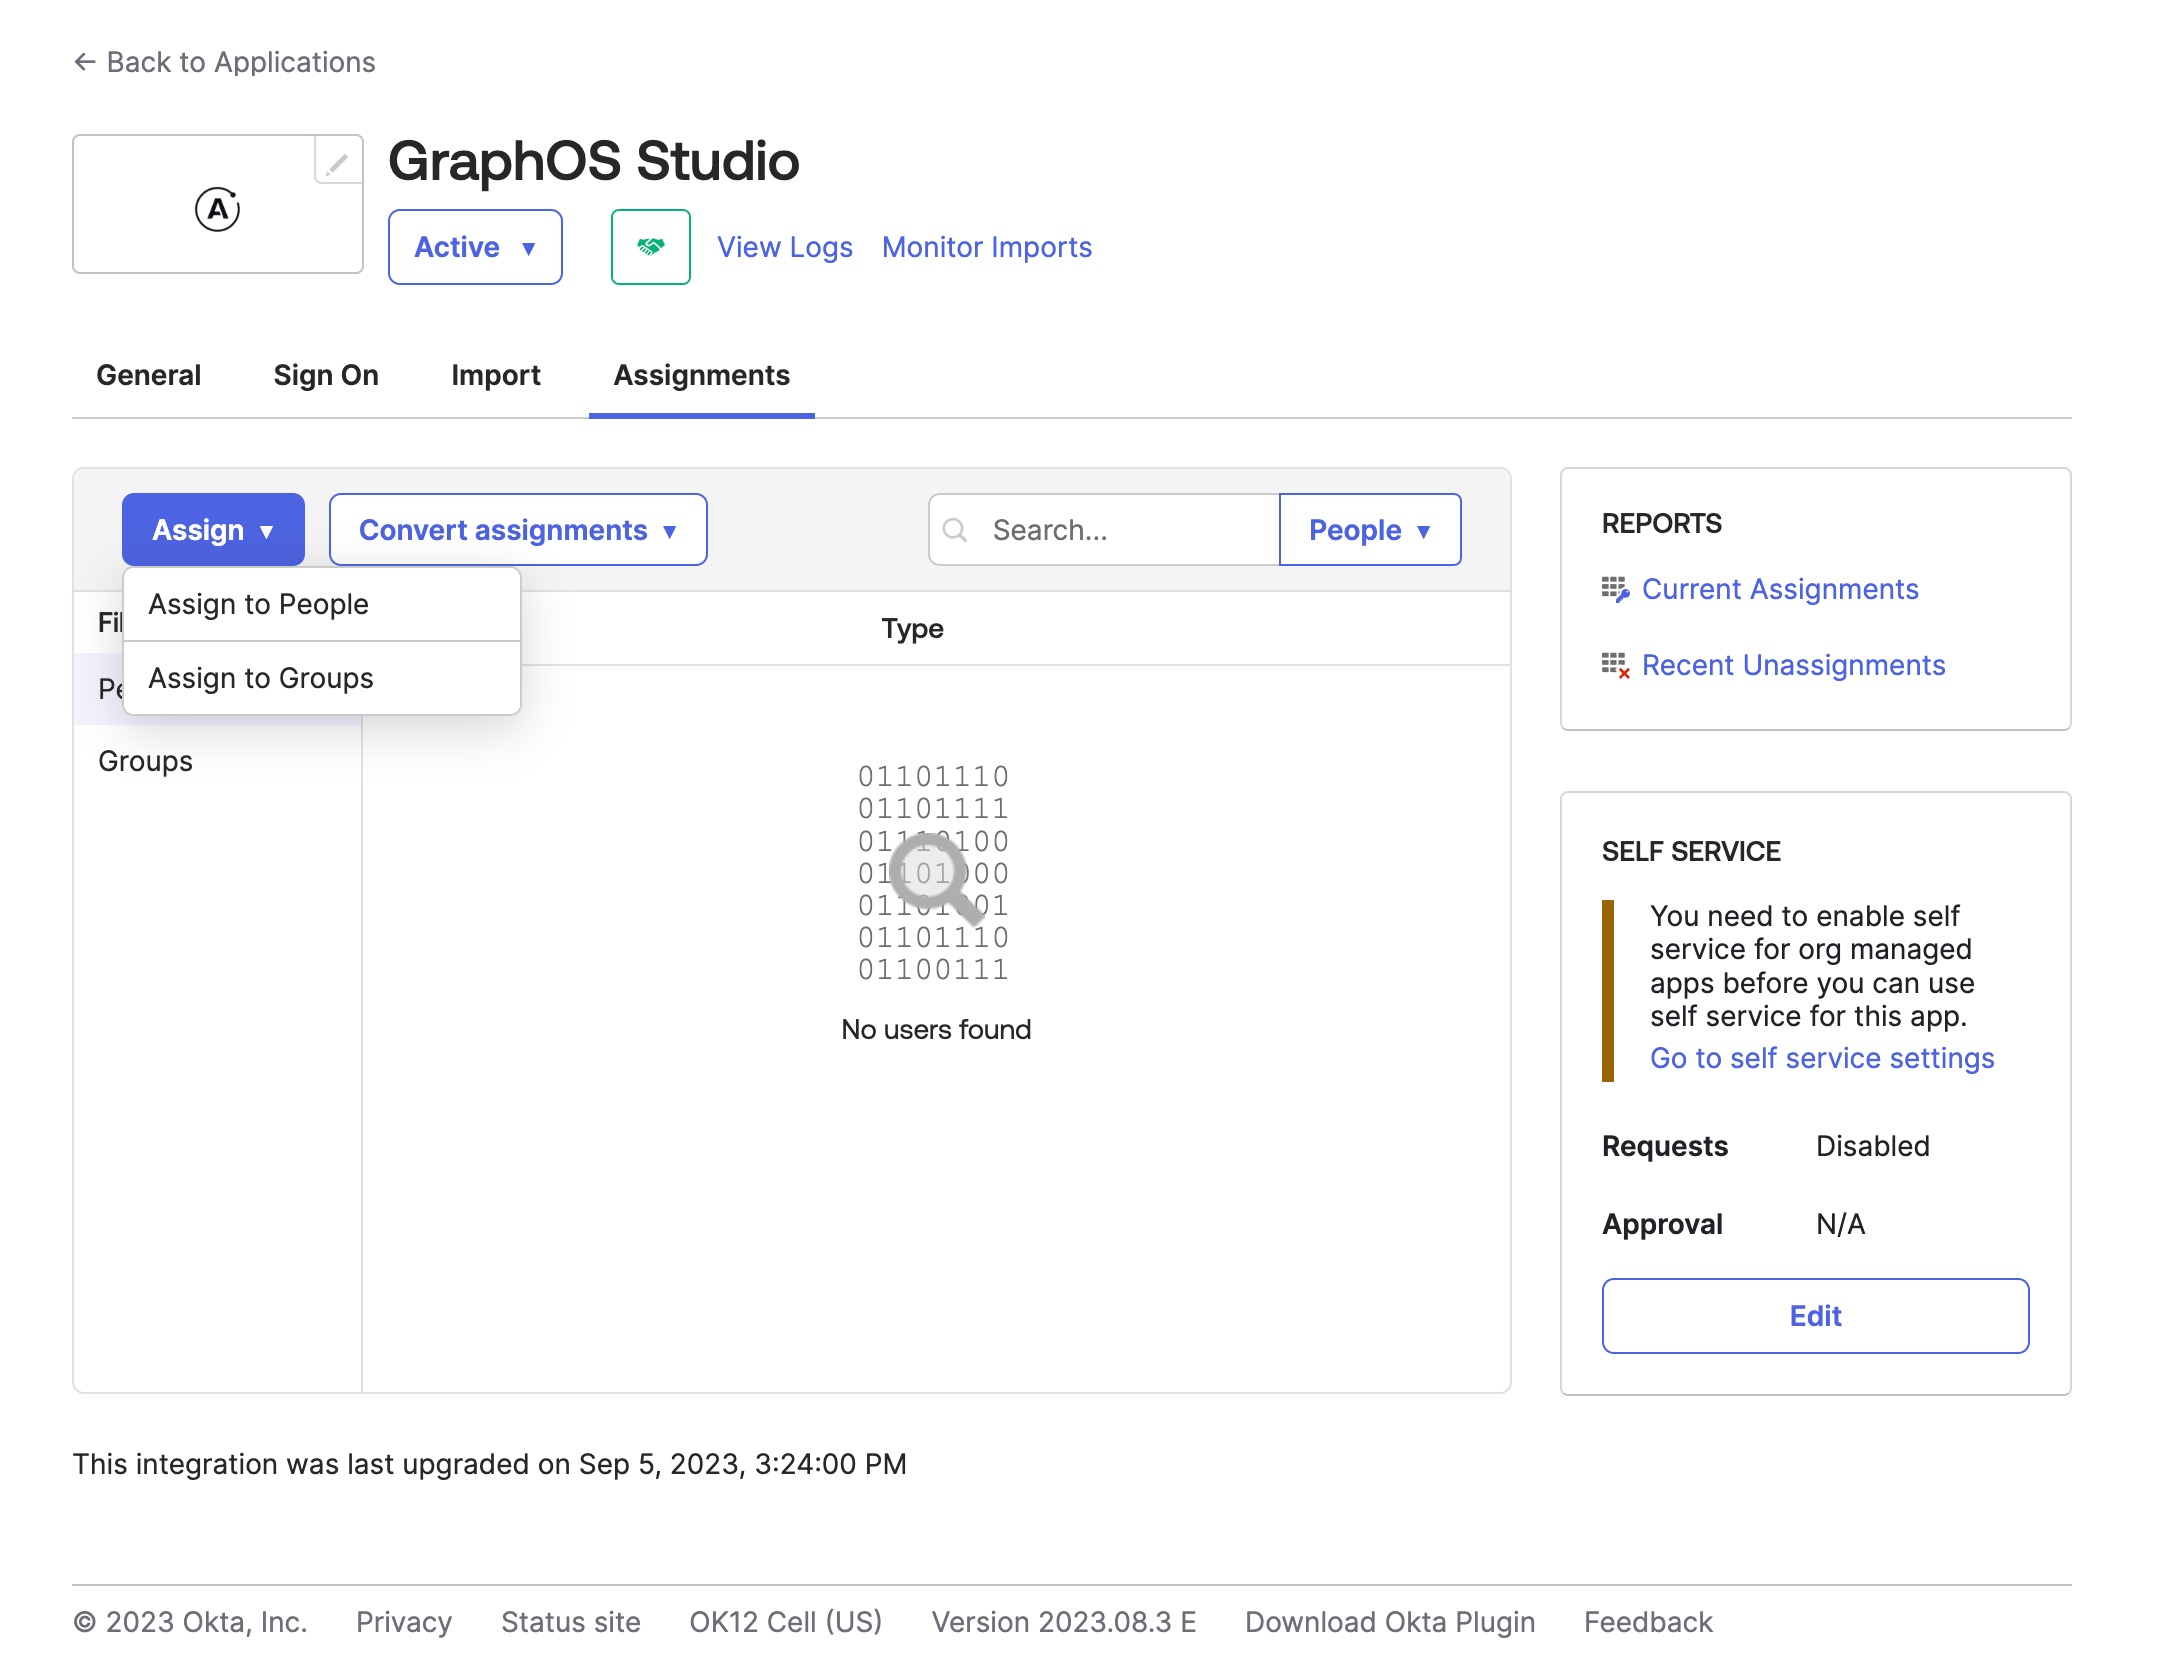
Click the Assign drop-down and then Assign to People or Assign to Groups.
Click Assign on the right of the people or group(s) you want to have access to your GraphOS Studio Org. Click Done.
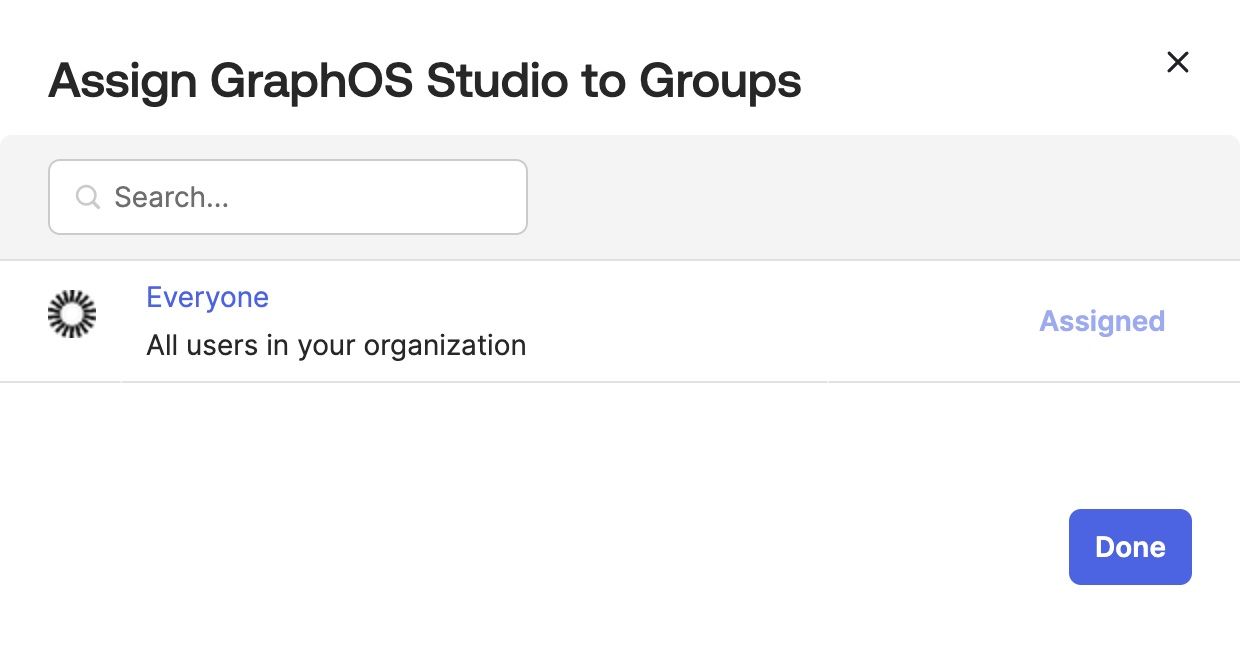
Repeat these steps whenever you want to grant GraphOS Studio access to a new user or group. Okta displays every user and group you've assigned to the integration in the Assignments tab.
Add Apollo GraphOS as a Bookmark App
Since both official and custom Okta integrations only supports an SP-initiated flow, we strongly recommend hiding the application in the Okta catalog for users and instead adding Apollo GraphOS as a Bookmark App. Bookmark Apps allow your users to correctly launch the application from the Okta catalog.
To do so, follow Okta's instructions with the following Bookmark Application configurations:
- Application label: Apollo GraphOS Enterprise
- URL:
https://studio.apollographql.com/login
